
Copying
This section describes how to load originals and copy them to plain paper loaded in the cassette.
-
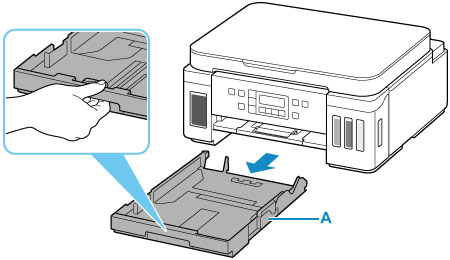
Pull out the cassette (A) from the printer.
-
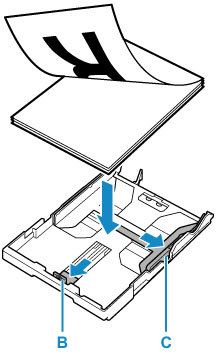
Slide paper guides (B) in front and (C) on right to open guides.
-
Load plain paper in portrait orientation WITH PRINT SIDE FACING DOWN.
-
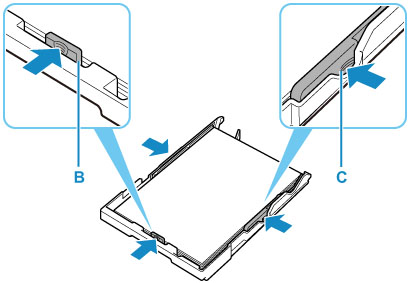
Align paper guides (B) in front and (C) on right with paper length and width.
-
Insert cassette into printer.
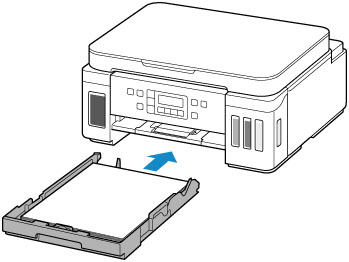
After inserting the cassette into the printer, the paper information registration screen for the cassette appears on the LCD.
-
Press the OK button.

-
Use the

 button to select the size of the loaded paper on the rear tray, then press the OK button.
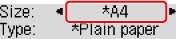
 Note
Note-
The
 (asterisk) on the LCD indicates the current setting.
-
-
Check media type and press OK button.

Follow the instructions of any messages displayed to register the paper information.
-
Open operation panel (D), pull out paper output tray (E), and then open output tray extension (F).
Be sure to open the operation panel before printing. If the operation panel is close, the printer does not start printing.

-
Press the COPY button (G).

-
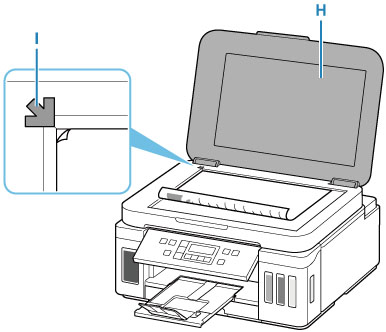
Open document cover (H).
-
Load original WITH SIDE TO COPY FACING DOWN and align it with alignment mark (I).
-
Close the document cover.
-
Check paper settings and press Black button (J) or Color button (K).

![]() Important
Important
-
Do not open the document cover until copying is complete.
![]() Note
Note
-
Your printer is equipped with many other convenient copy features.
